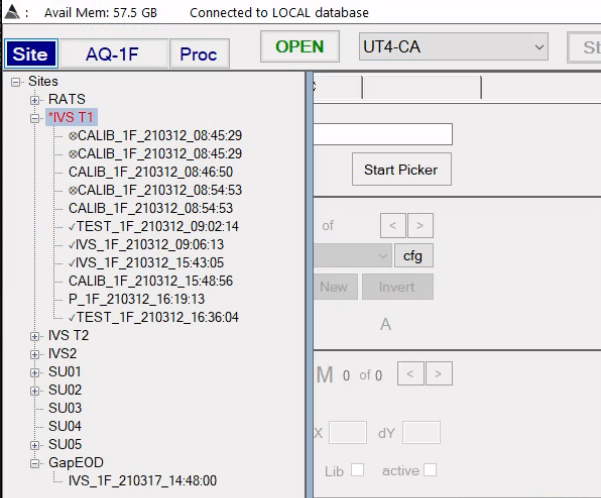
Exported survey files
After receiving a payload of data from the field team you should have a collection of directories similar to this,
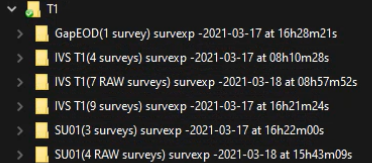
This naming structure can be broken down into 4 components.
"{0}({1} surveys) survexp -{2} at {3}"
where the above tokens indicate,
- 0: Site Name
- 1: # of surveys contained within the directory
- 2: day of the year when exported from BTField
- 3: time of day when exported from BTField
Post processing begins with importing these directories into BTField (unless you are post processing on the field computer).
Create a new site
Locate the Site tab in the upper left of the application and expand the Site panel to see a tree view of all the sites in the project. A Site can be thought of as a container for all surveys belonging to a survey unit. Where data coverage and MQOs will be evaluated within the singular unit.
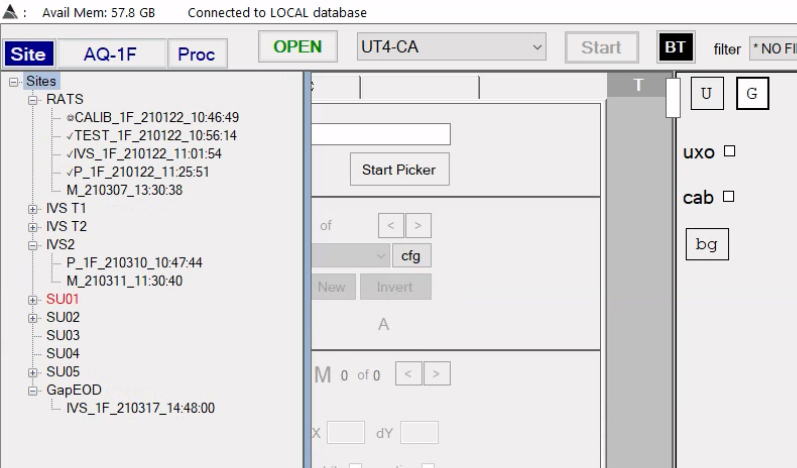
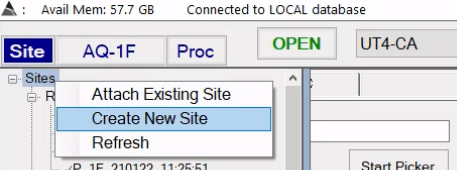
Right-click on the root node titled Sites and select the option Create New Site from the context menu.
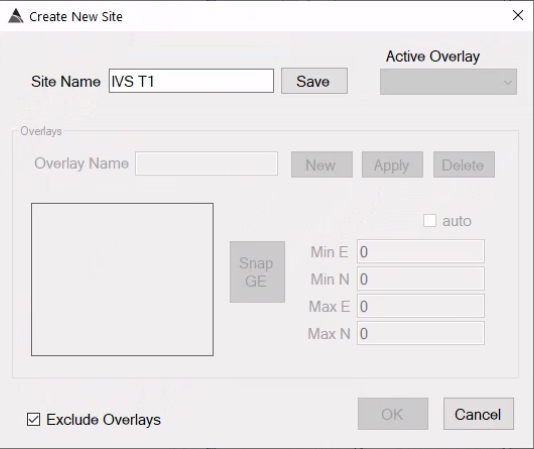
In the Create New Site dialog window,
- enter a Site Name which should exactly match the Site Name token in the directory you are importing. See above. Note: the imported surveys can be re-assigned to a different site after import if need be.
- check the Exclude GE Overlays checkbox
- press Save and then OK
Import surveys
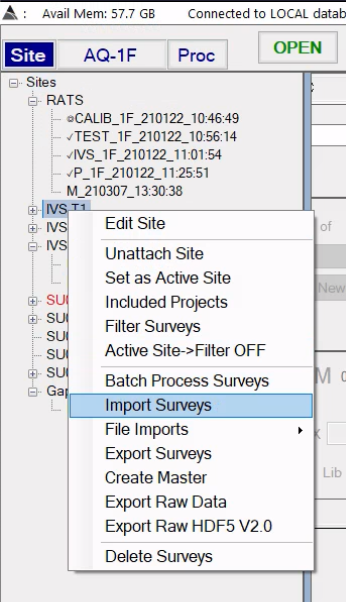
Next select surveys to import by selecting the Import Surveys menu option.
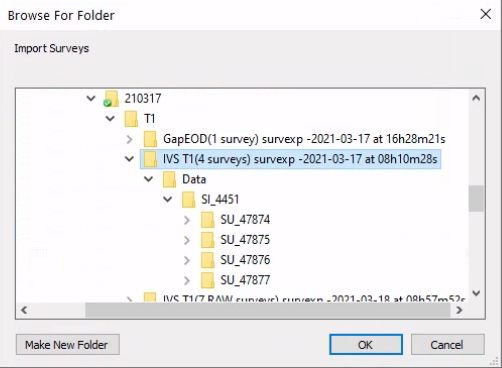
Select the survey directory, taking care to select a survey with the same site name token in the folder name as the site your importing into.
Once the data import operation completes your Sites tree view should look similar to this.
